This article will teach you how to wire up your headlight, anyway you want to do it. This includes highbeam always on, low beam with a switch for highbeam on, low beam, or highbeam, all on/off lights, and day time running lights.
When I was a kid, teen, and into my early 20s, I loved bicycles. One of our big things qas to put lights under them. Normally, we used a 9 volt battery and a Christmas light. This lead to buying a lot of batteries. Quickly, we learned how switches worked. This article will tell you what i learned.

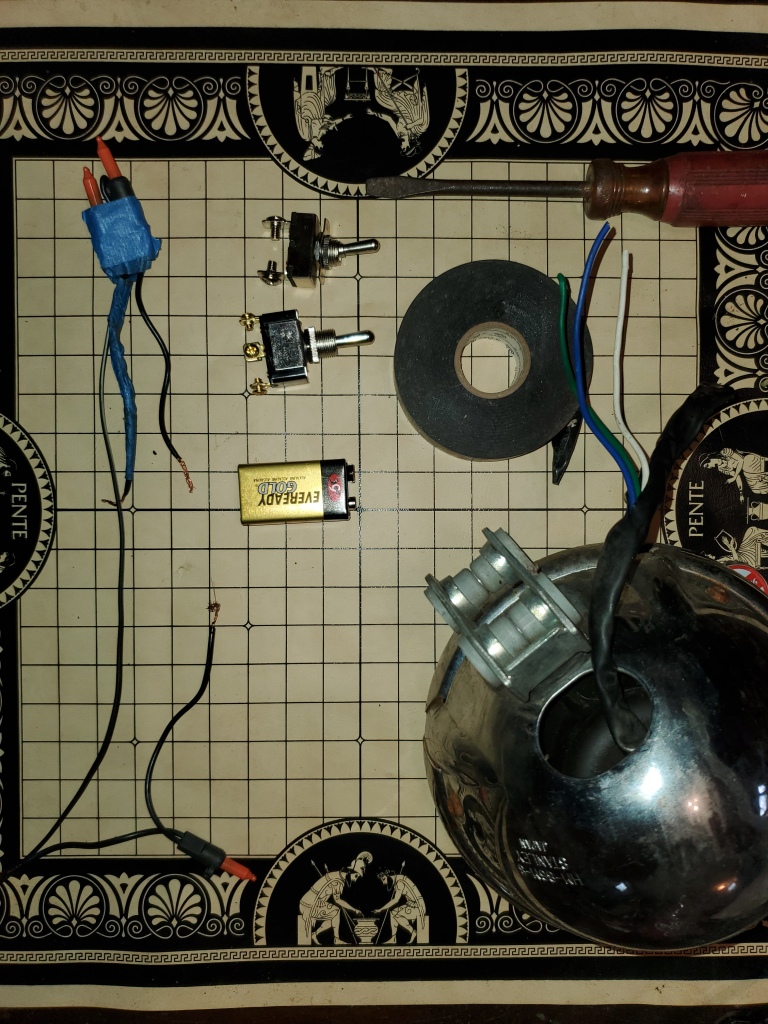
First, lets go over the basics. This switch, above, it represents your key switch. Your main power needs to come from this switch, to the fuse box. This will turn everything off, when you turn the key off.

For this job, this 9 volt battery will represent your fuse box. Your switch turns on the power to this box. Your lights has its own fuse. Hook your hot into this location on the fuse box. It is marked, +. The top of the fuse box will tell you the correct fuse. The negative can be hooked anyway you can bolt it on, the battery, or the fuse box

Coming from most head lights, you only have three wires. One wire is the hot to the highbeam, one is hot to lowbeam, and one is ground. Here we have a blue for low, a green for high, and white for ground. Pictured below is our set up, using the same colors.

Our first set up is going to be “always on”. This is the simplest. Normally the bright light is always on. You want to hook up your green wire to the hot that comes from the fuse box. Then, hook up your ground.
